Making Platinum Prints
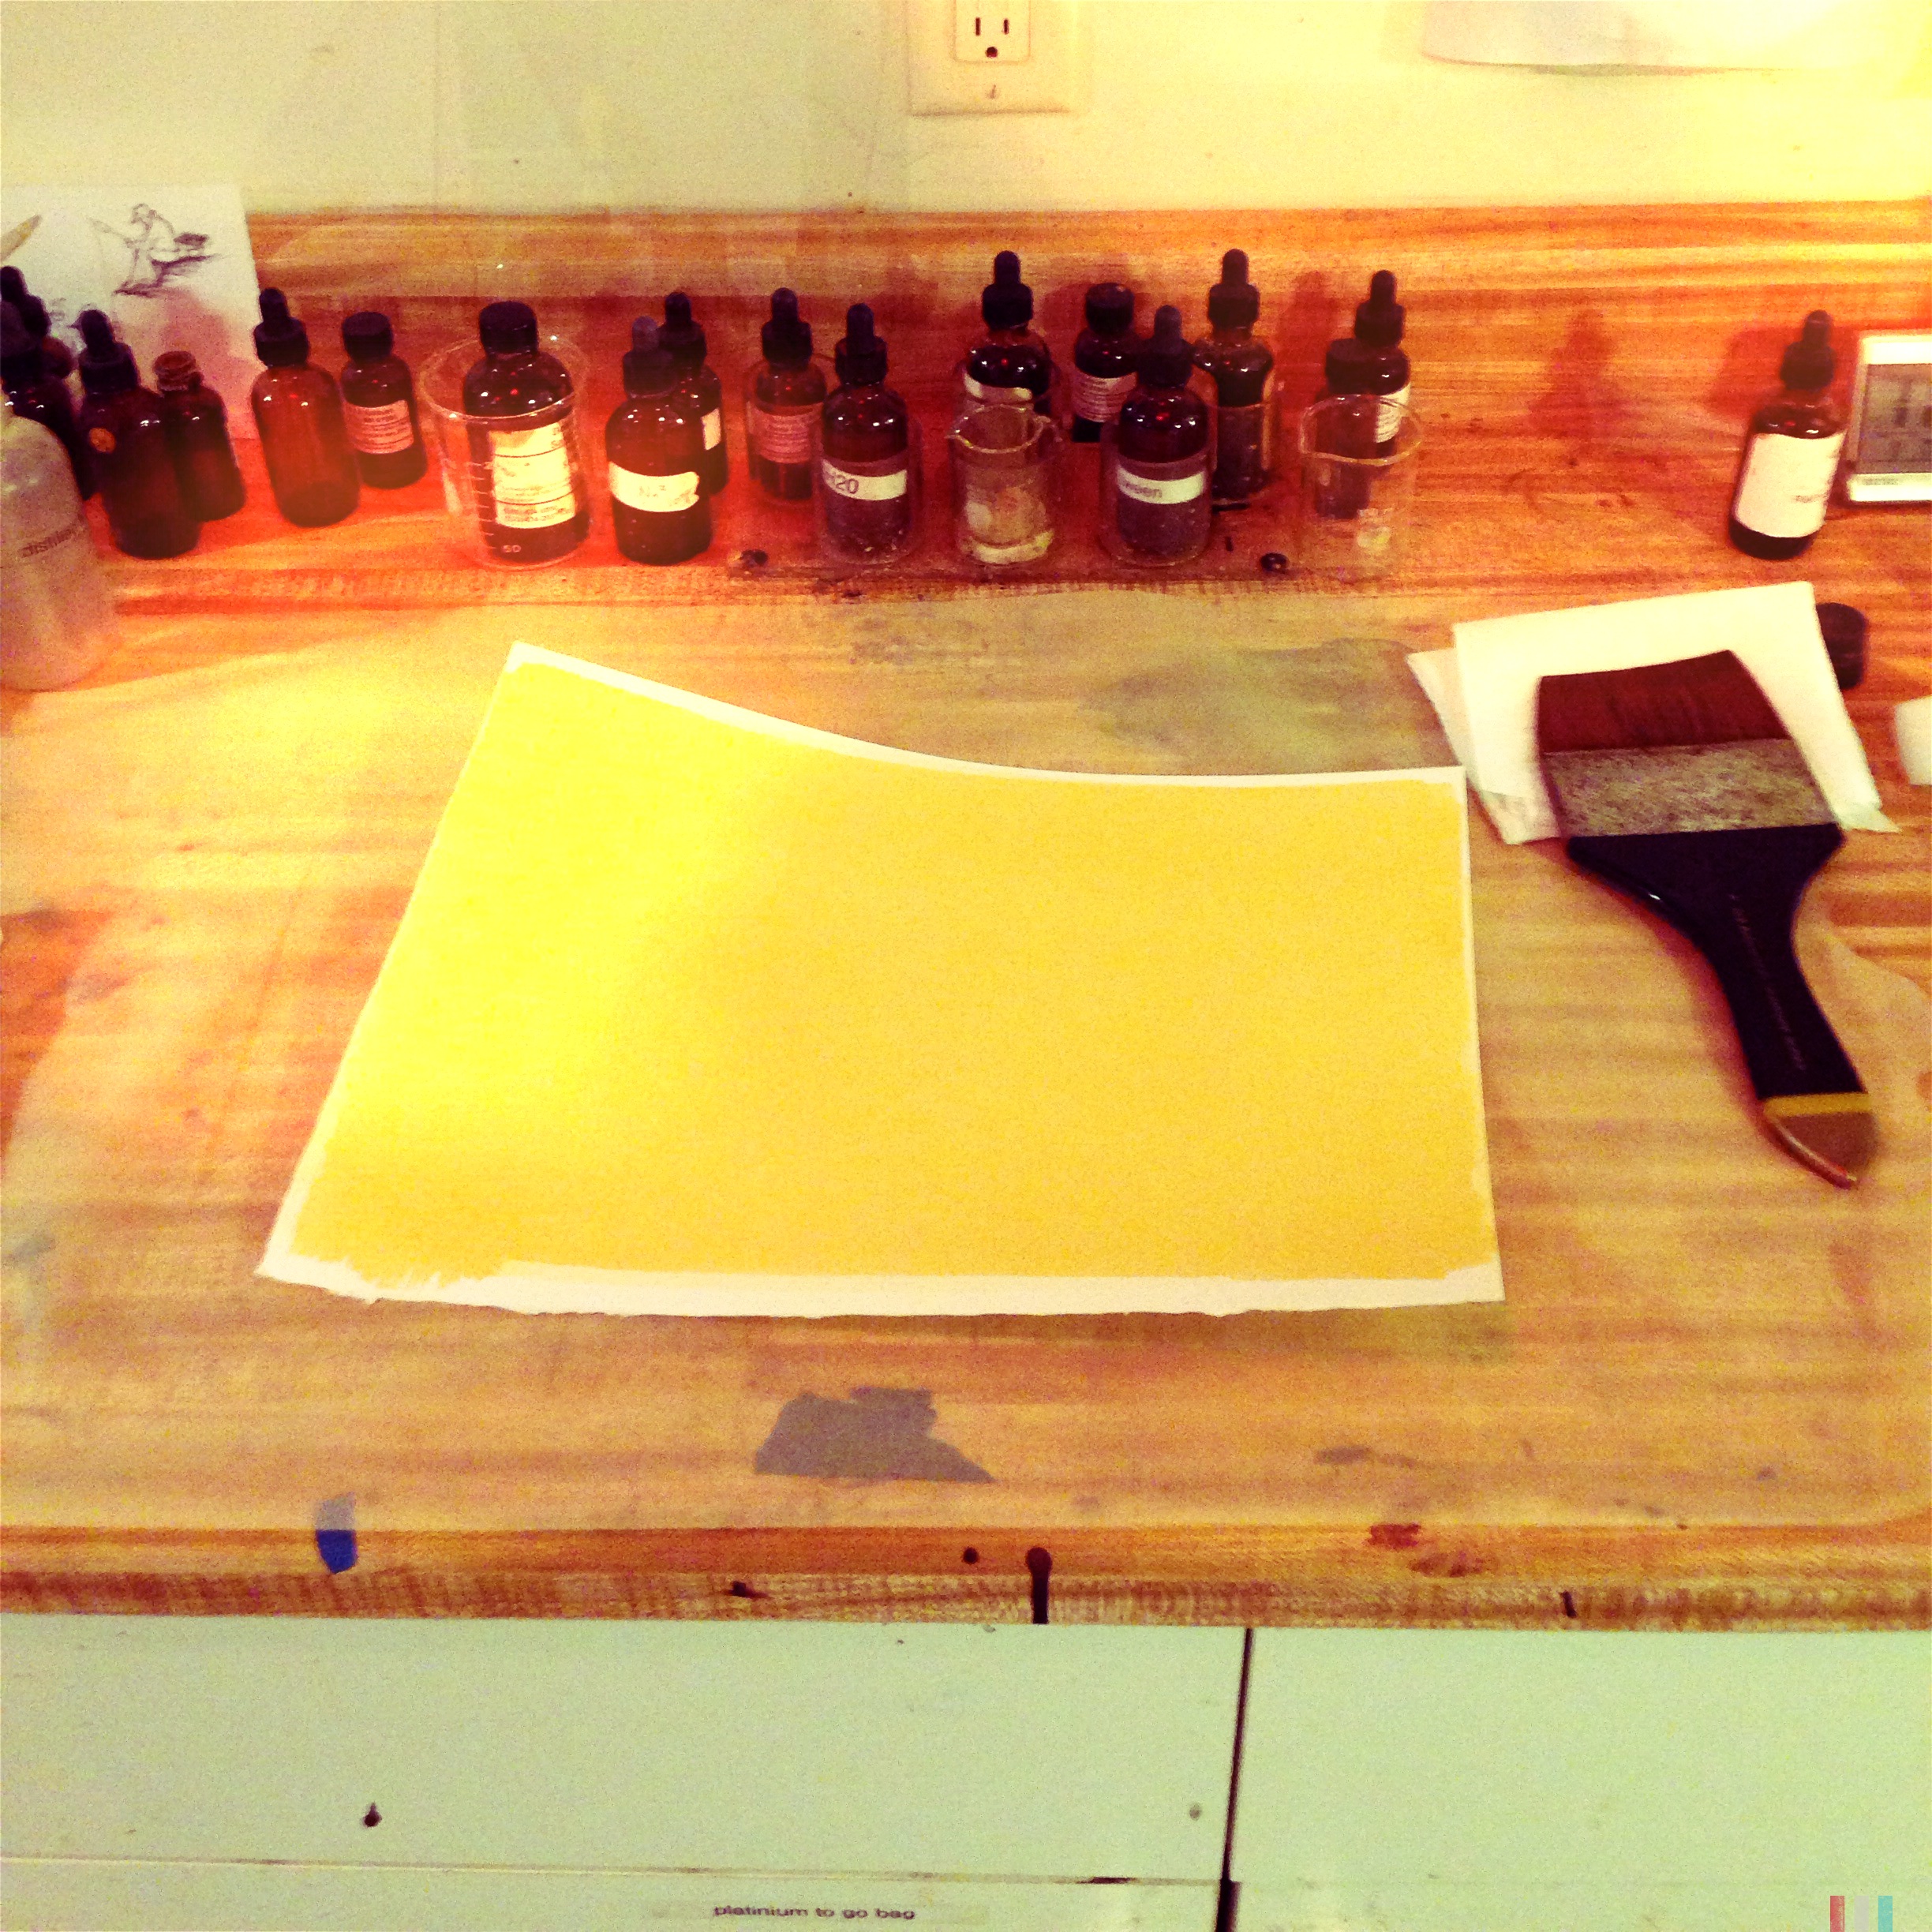
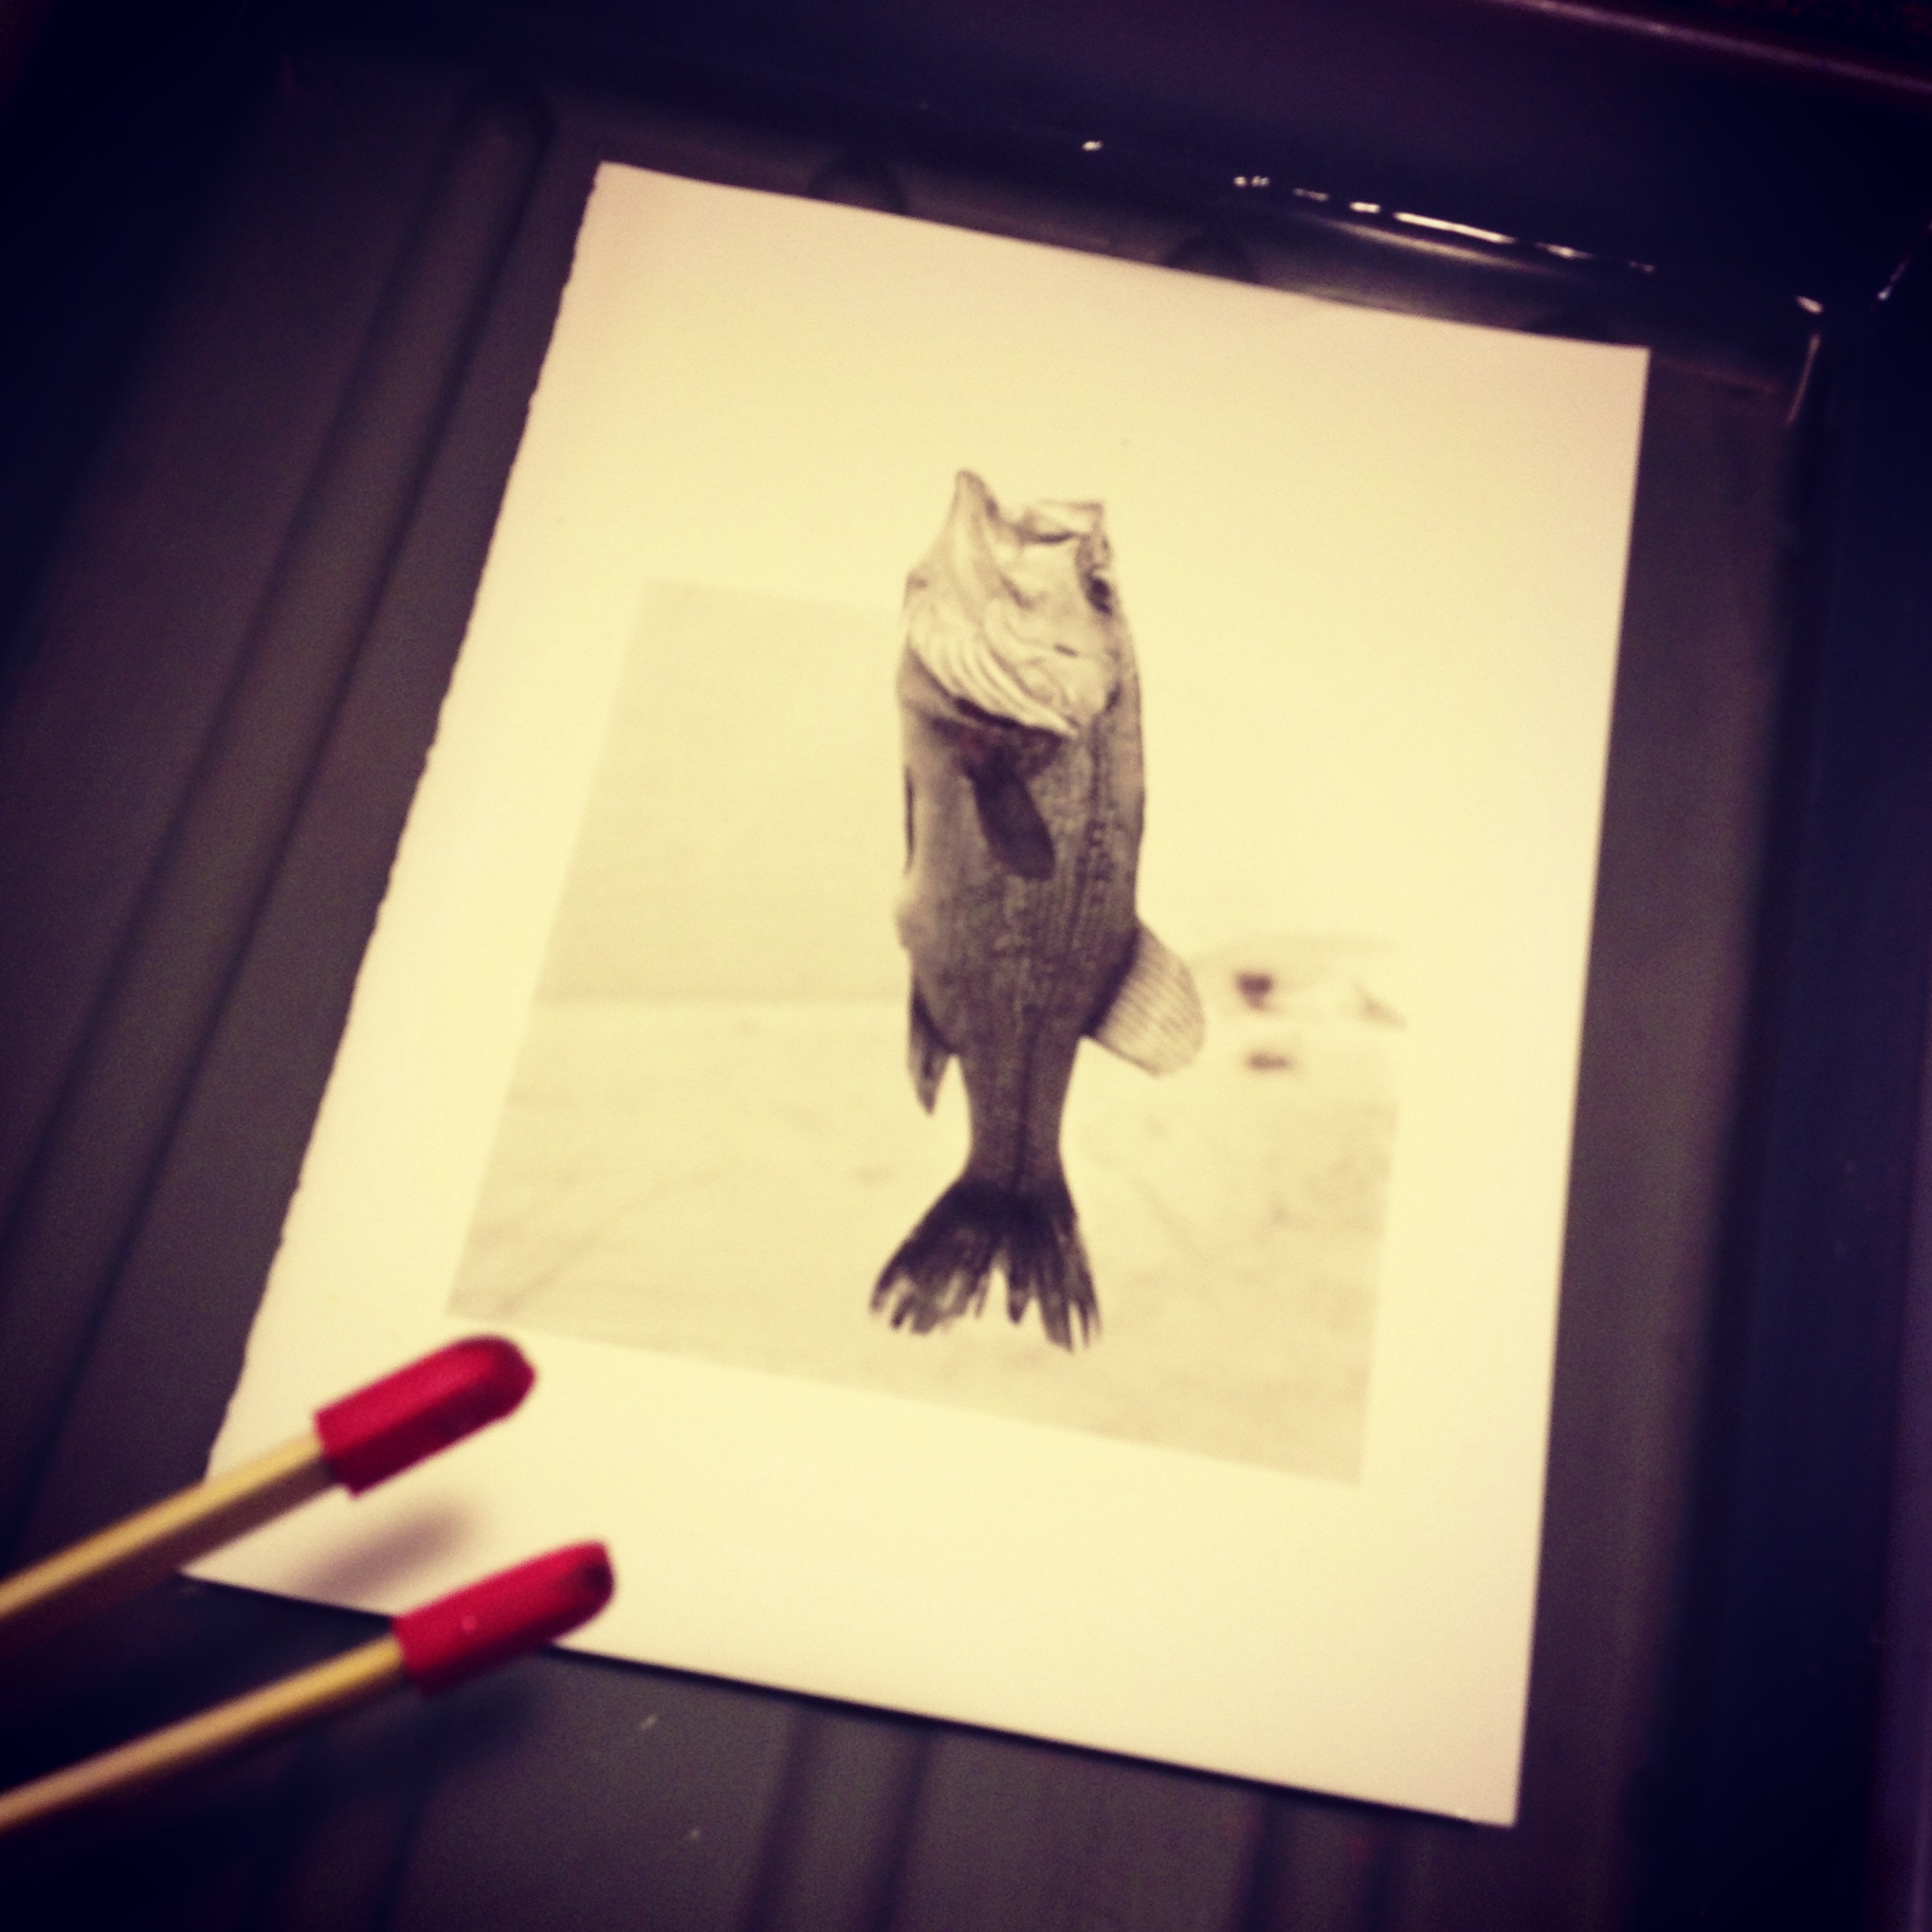
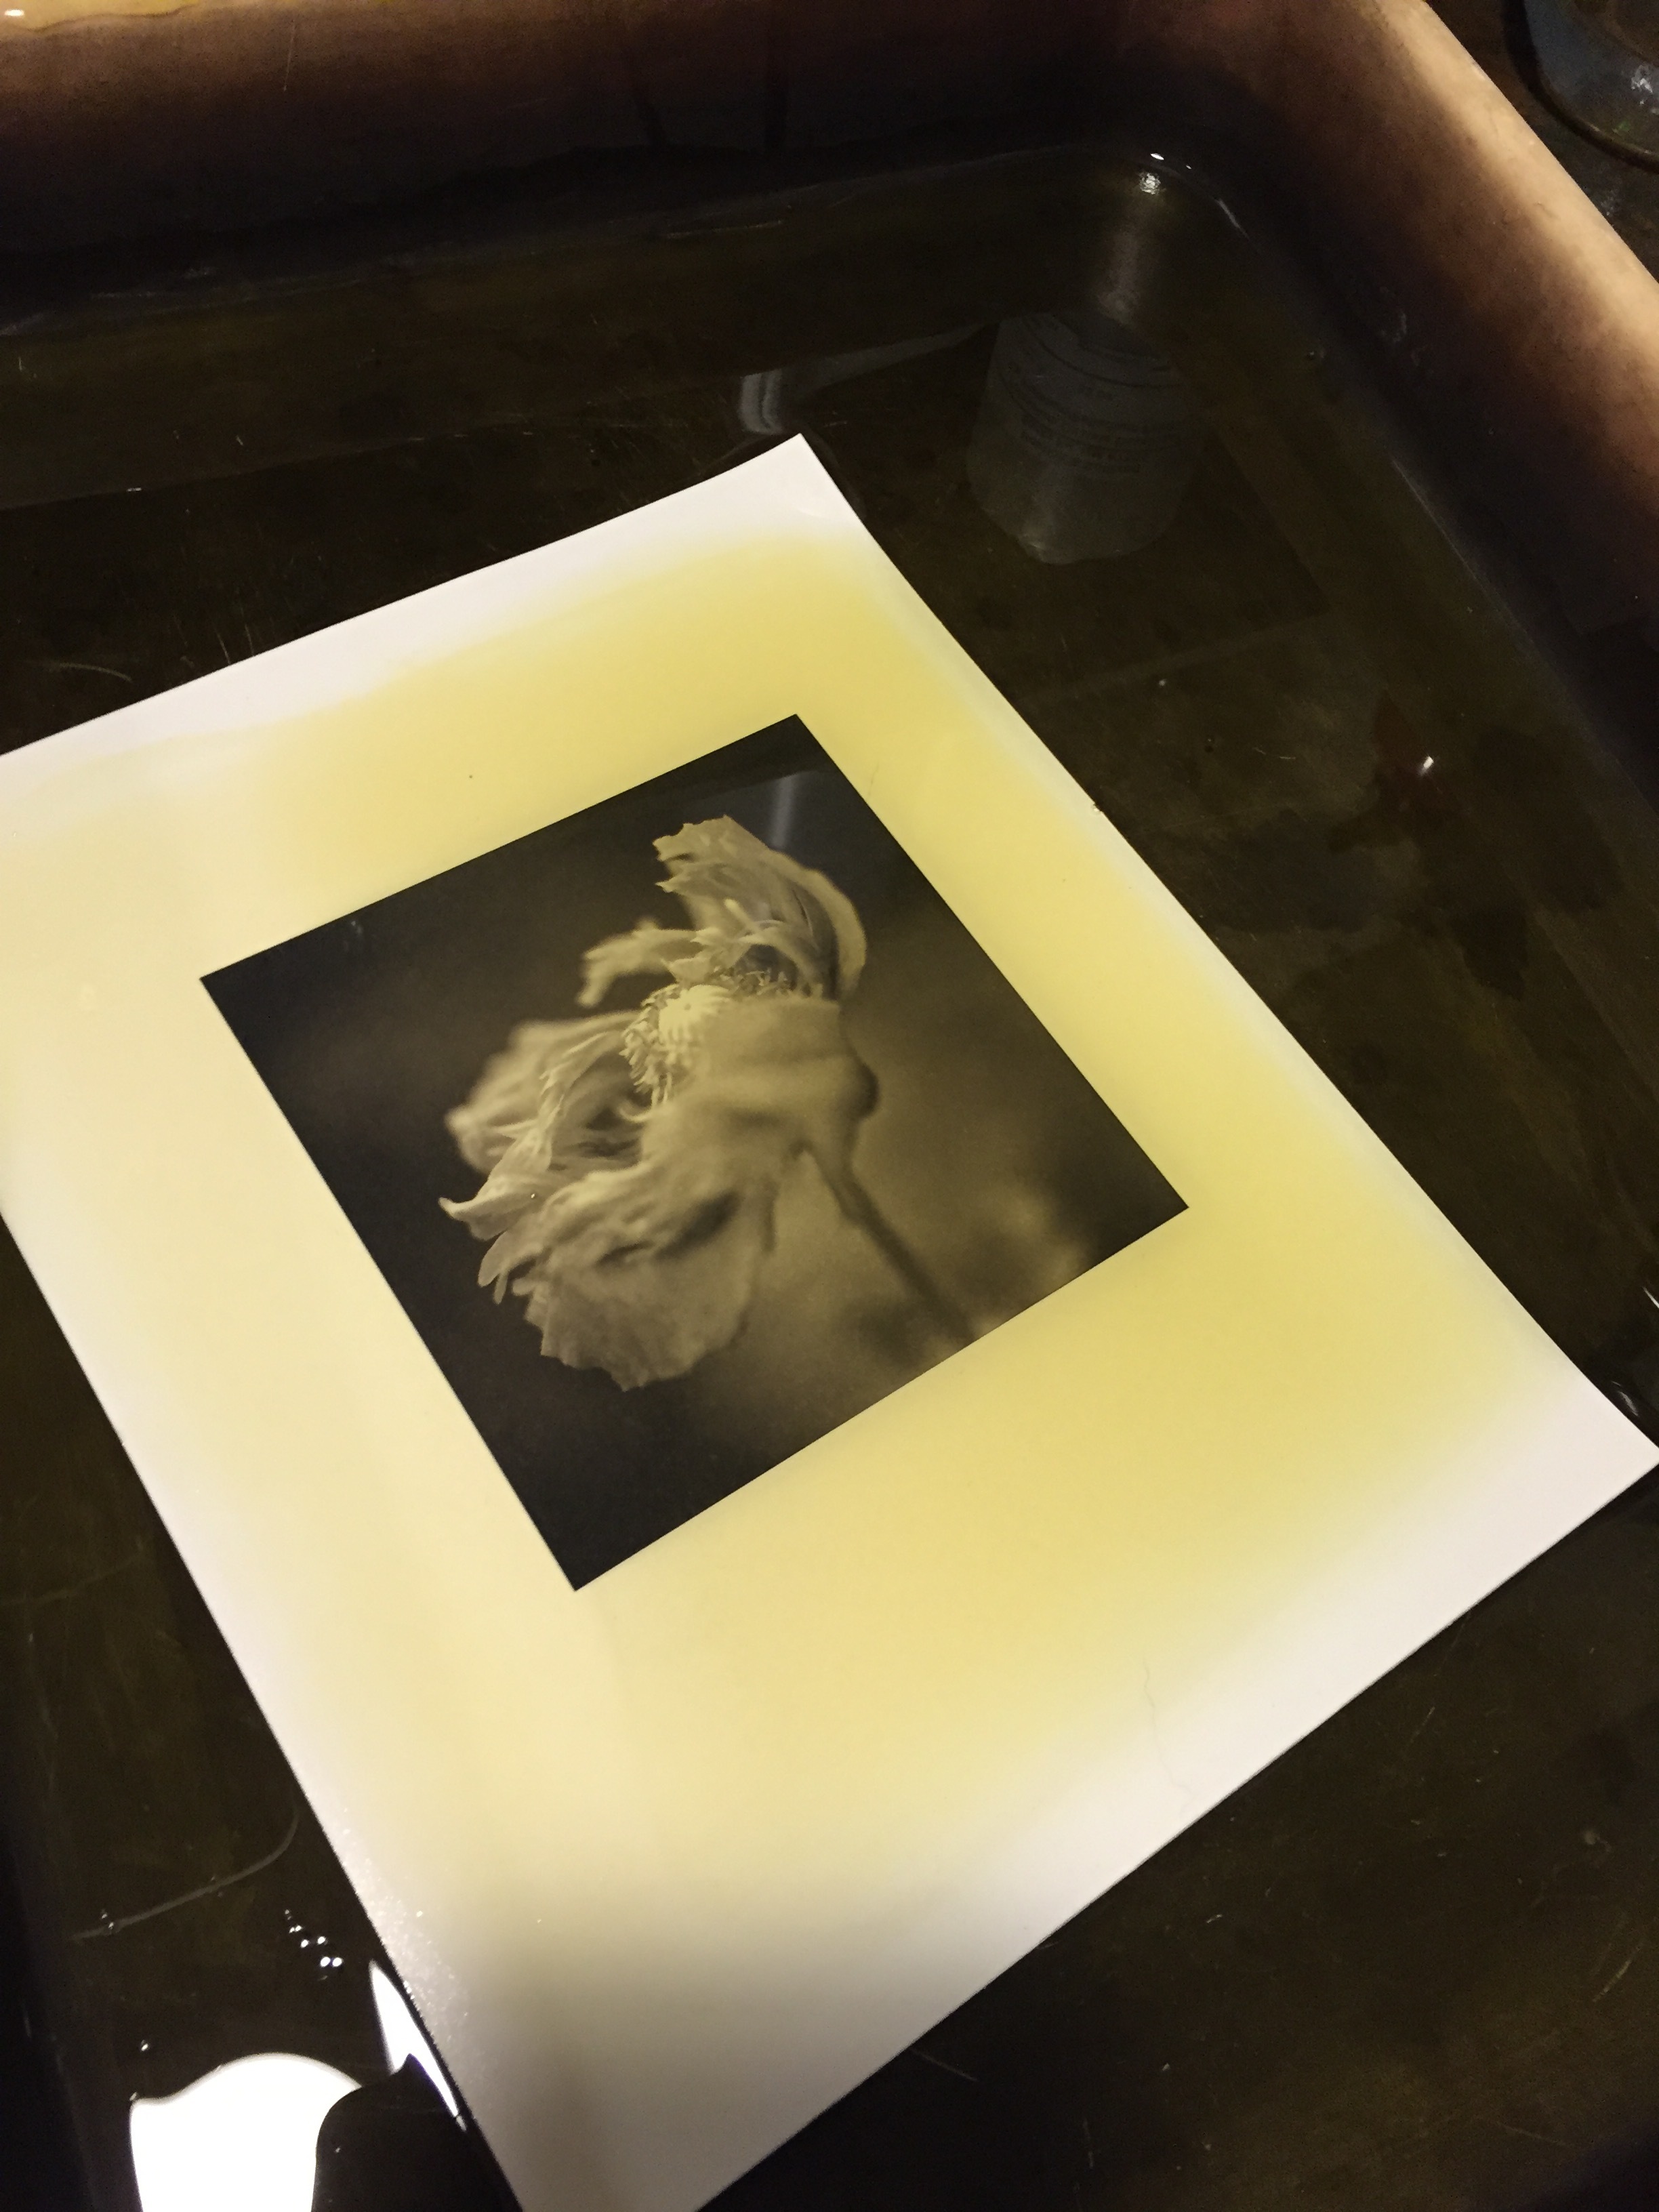
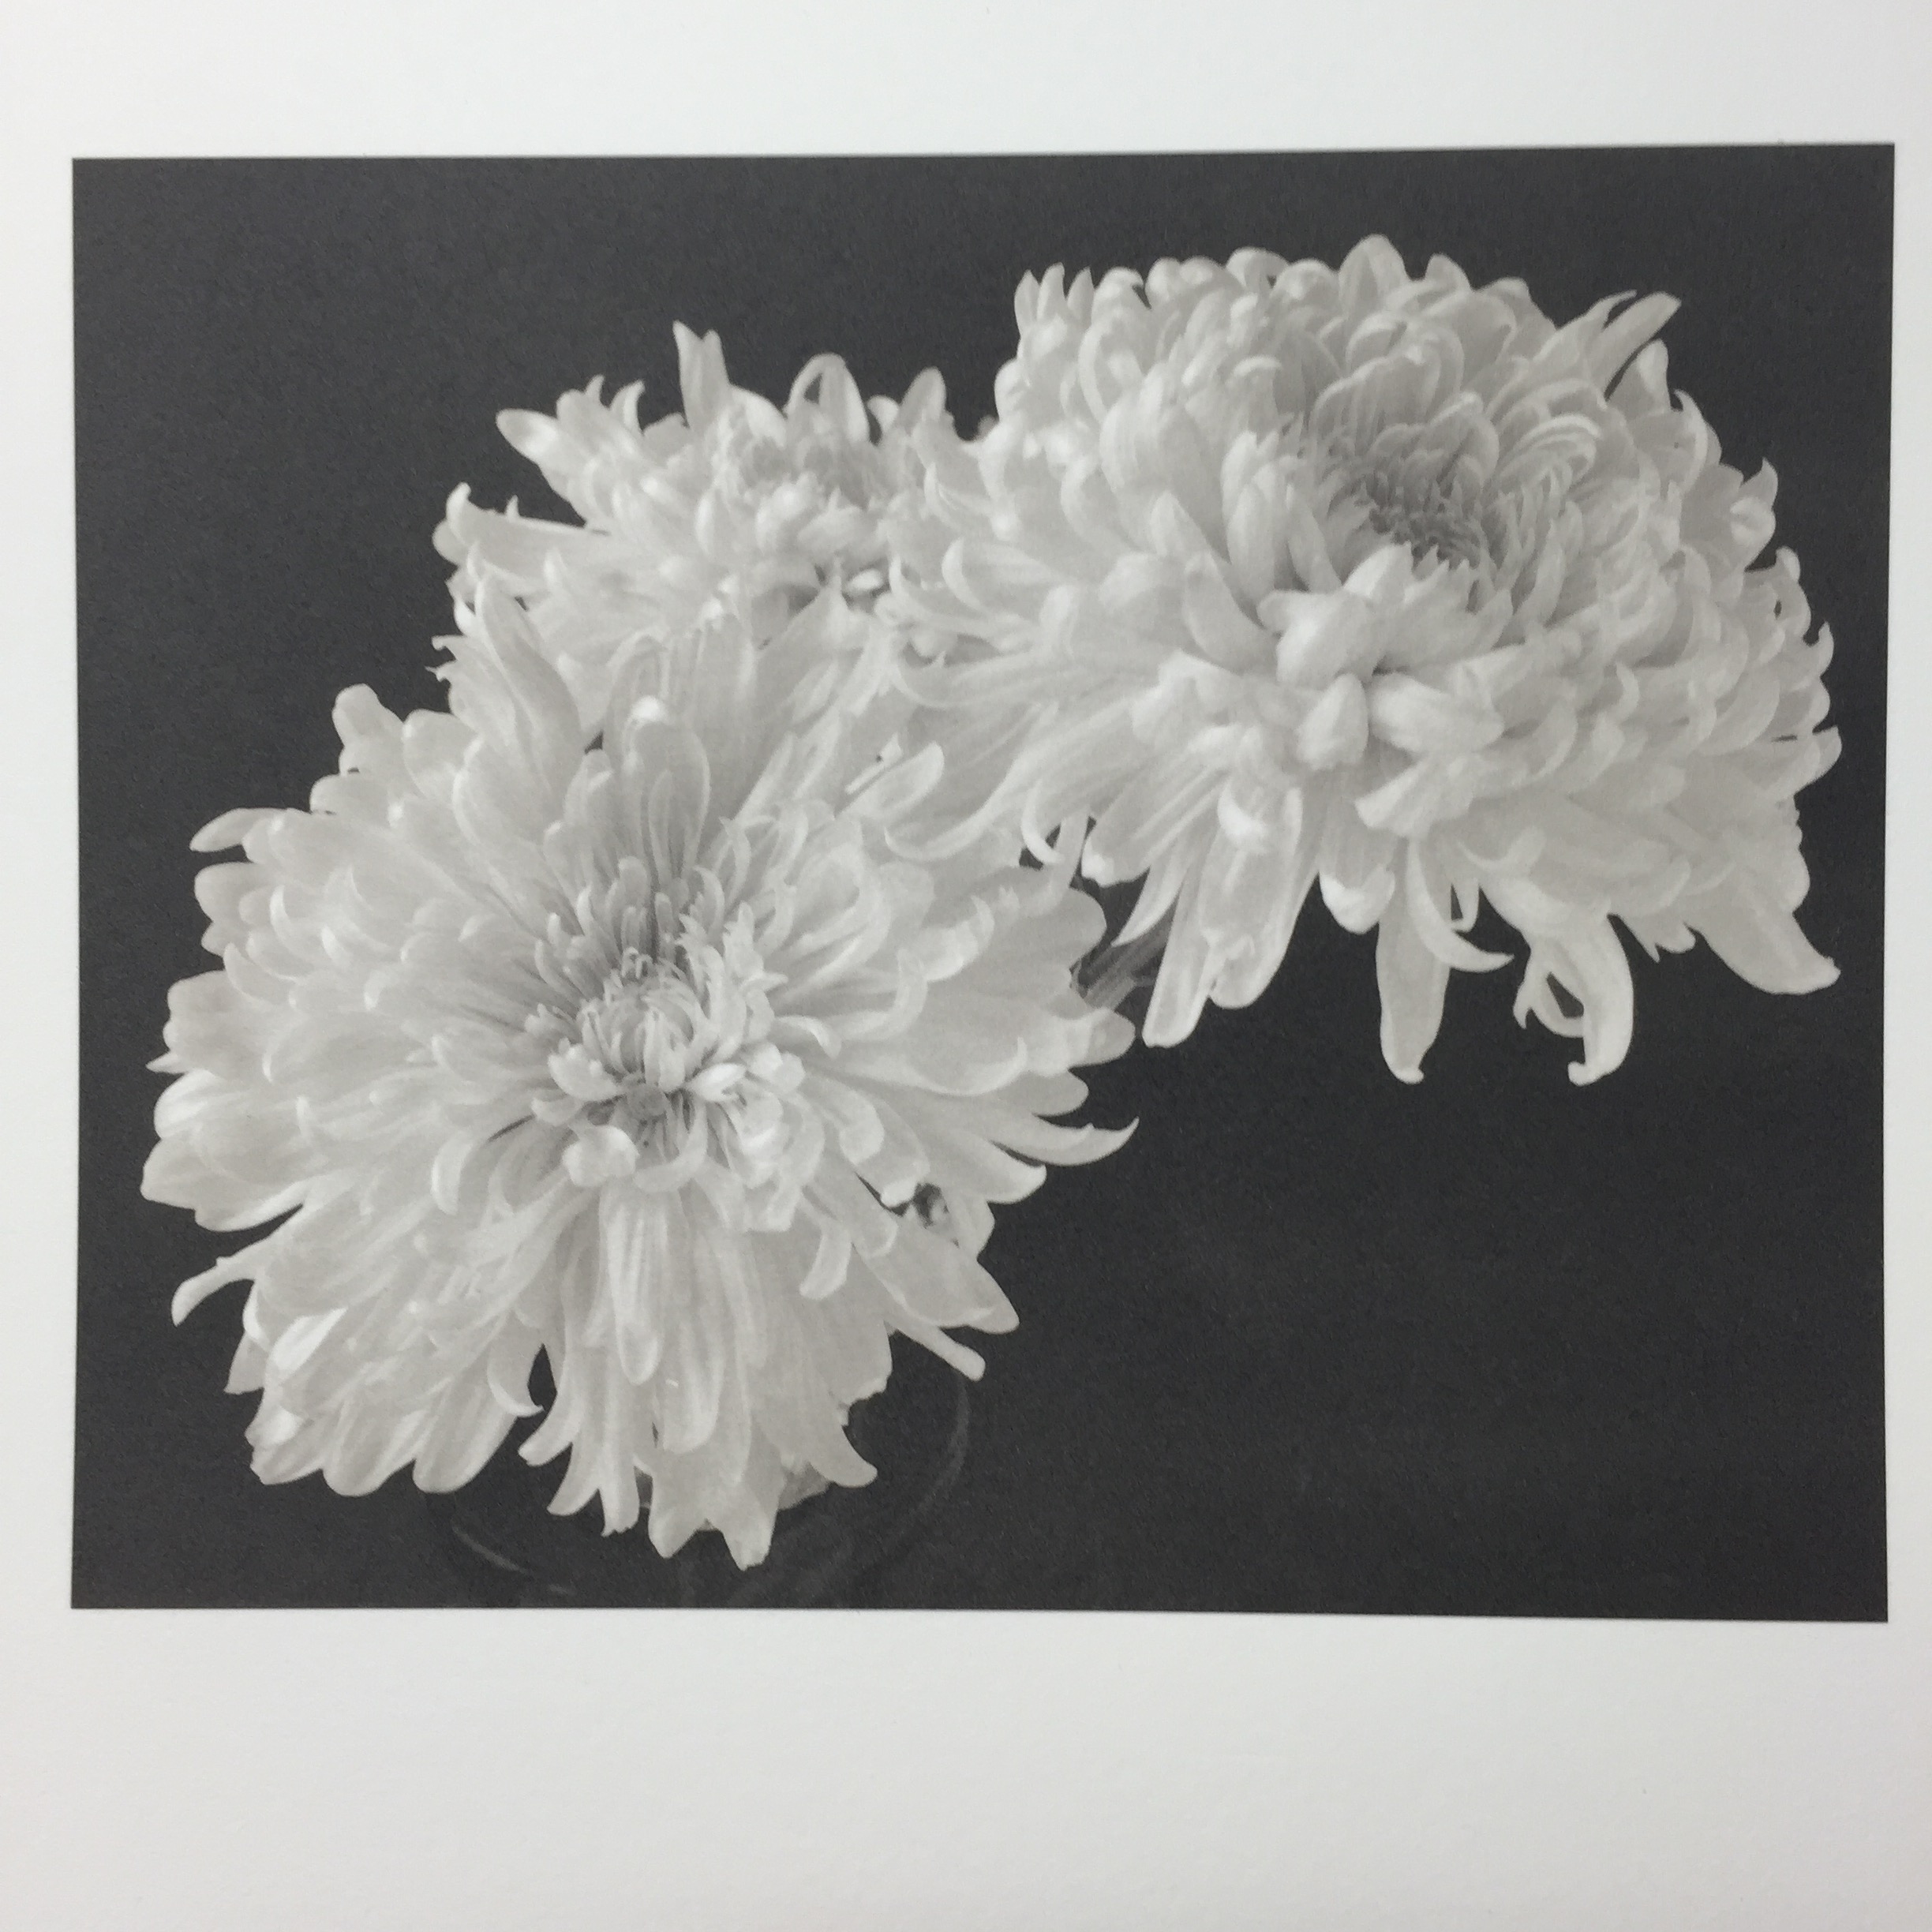
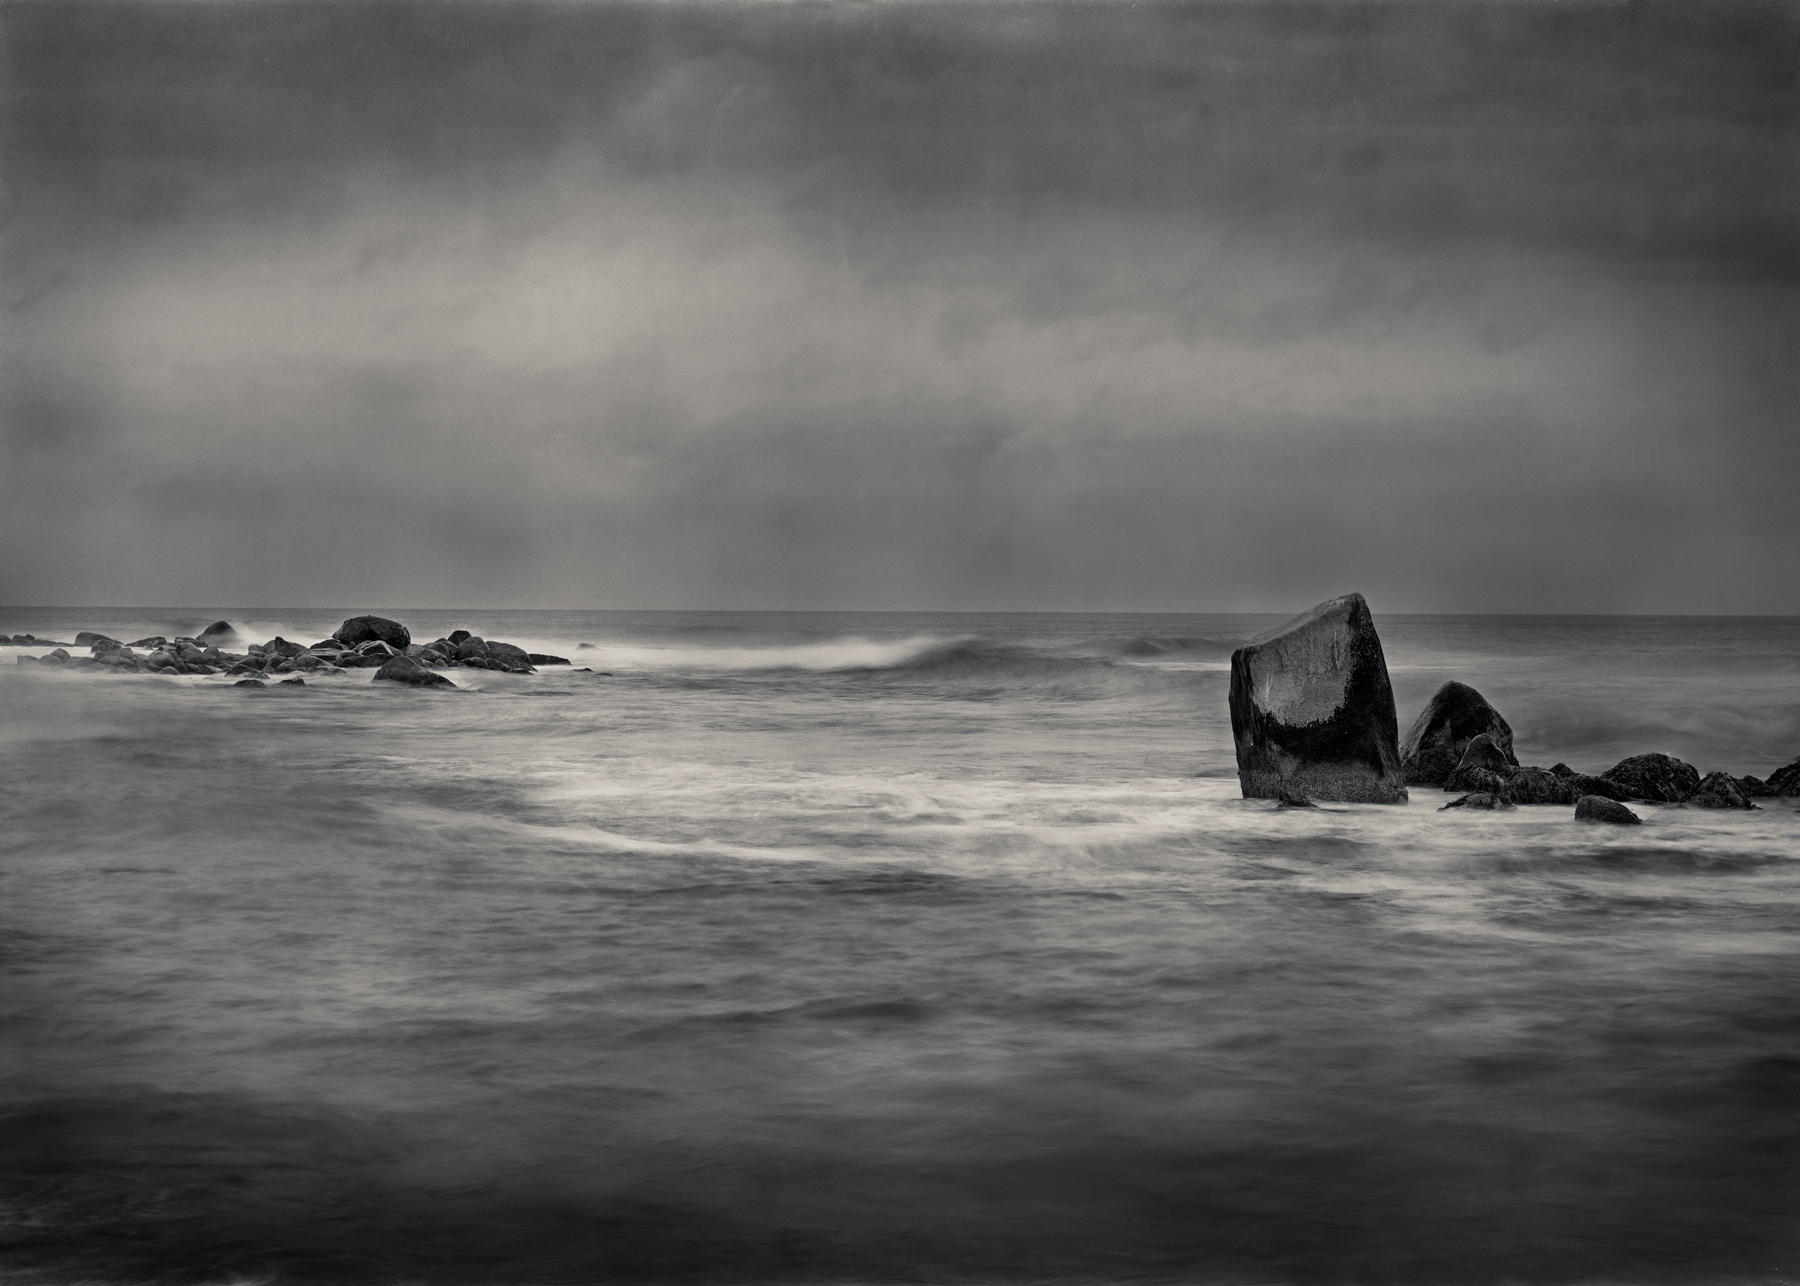
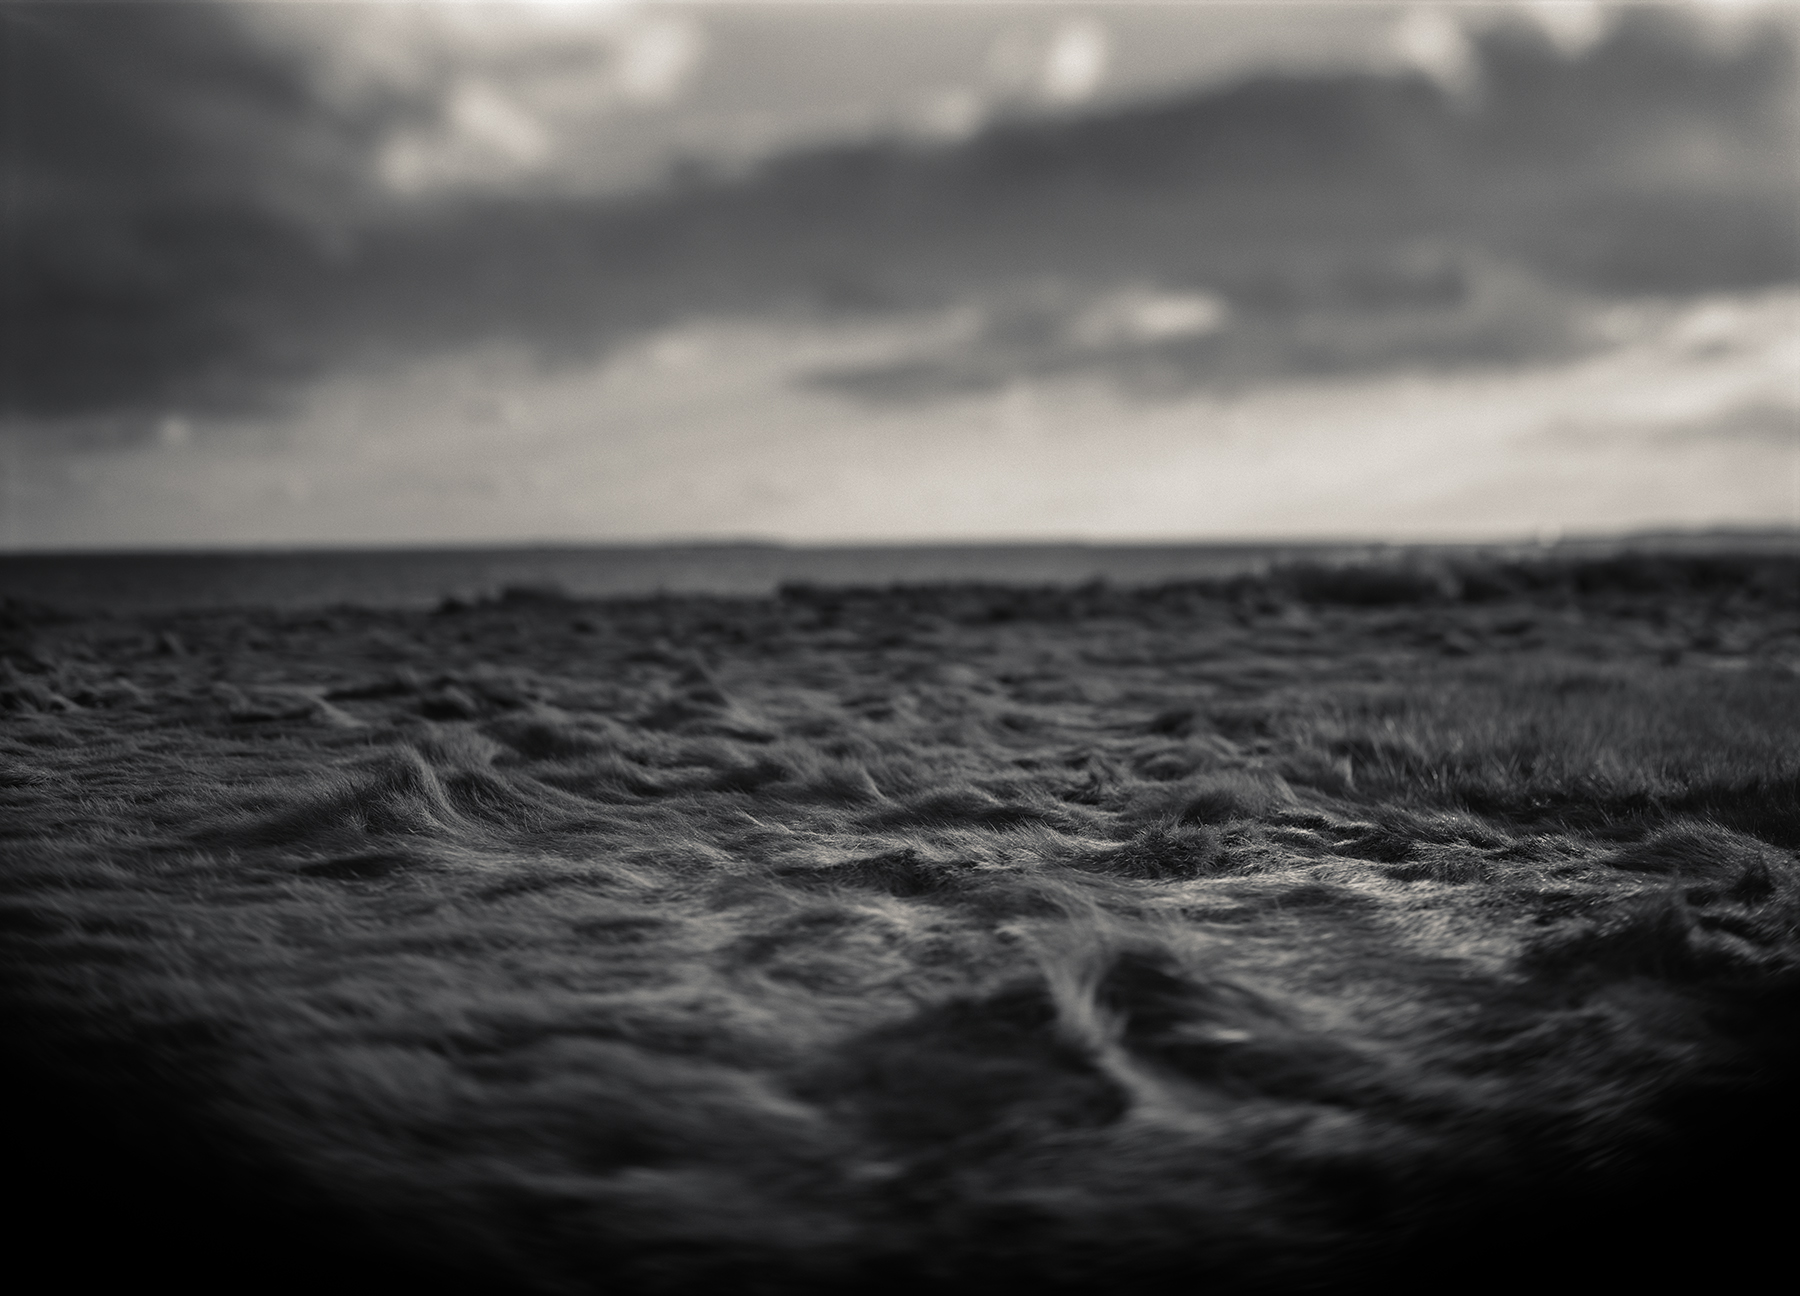
Platinum images are known for their long tonal scale and contrast range. Early prints would be considered too flat (no blacks) by today's standards but, "back in the day" they were considered the "bee's-knees". Platinum prints will never have blacks (Dmax) to rival silver paper but the benefits outweigh the drawbacks.
I realize that the above paragraph, if taken out of context is totally racist.
Printing from an in camera negative.
Since platinum printing is a contact printing process, the size of the image is determined by the size of the negative. Before digital negatives, a photographer had two choices:
- Print images from original large format negatives
- Create enlarged negatives.
- Before digital negatives came about (a very welcome thing), enlarged negatives were an art form in and of themselves. It was a two-step process involving printing the original negative onto a positive sheet of film and then printing that image onto a larger sheet of film to the desired print size. As with any multi step process, a little detail was lost with every step.
- With pictorialism, this wasn't such a bad thing.
Today, only an insufferable hipster geek would make enlarged negatives in the darkroom. The first thing he/she would need to get is a time machine since the materials went away in the early part of the 20th century. So, digital negative or in-camera negatives it is. Be happy.
In Camera Negatives
In camera negatives should have a good contrast range. Your highlights should be fairly dense and you shadows should be pretty open. Usually, I just take an average meter reading and overdevelop my film one or two stops. Let's not make high mass out of this
A lot has been said about developers and I have switched between Pyro PMK and XTOL. My main film is Ilford FP4.
Digital Negatives
Today, thankfully, inkjet printers have replaced the enlarged negative issue. Now a photographer can make a negative as large as the inkjet printer can handle. I think this has become a little ridiculous with wall sized platinum prints. After a while, what's the point besides demonstrating how much money you can burn.
Methods
There are several methods for calibrating your inkjet printer to your platinum print. All of them claim to be better than the next. At the end of the day, find a method that gives you consistent results and preserves your sanity. There is a learning curve to all of them. Here are the two most popular methods
- Mark Nelson's Precision Digital Negative
- I use this system and have enjoyed good results. He has since updated it but I have stuck with an earlier version.
- Quadtone Rip
- Some of my favorite platinum printers use this process. What I know about it could fit in a thimble.
General Printing
A platinum print is usually made with three separate solutions.
- Ferric Oxalate (sensitizer)
- Platinum Solution
- Palladium Solution
You can adjust the contrast in a variety of ways: Hydrogen Peroxide, Dichromate in the sensitizer, developer temperature, or more than one of these methods. Currently, I'm using the Na2 method of platinum printing where the contrast agent is in the platinum solution.
Developer
There are two different types of developer commonly used in platinum/palladium printing:
- Potassium Oxalate
- Ammonium Citrate
Potassium Oxalate is used if you want a warmer print since it works well at higher temperatures. Ammonium Citrate is good for a nice, neutral print at room temperature.
A few things to keep in mind about either developer: NEVER THROW THEM OUT!! The developers never go bad and actually, with regular replenishment and filtering, you can have the same working developer for years. You will always lose a little developer in the printing process and just add some fresh developer at the end of your session.
As I mentioned, Potassium Oxalate is pretty versatile and can be used at room temperature or upwards of 110-120 degrees. The increase in temperature will lower the contrast and increase the brown tones.
Clearing Agents
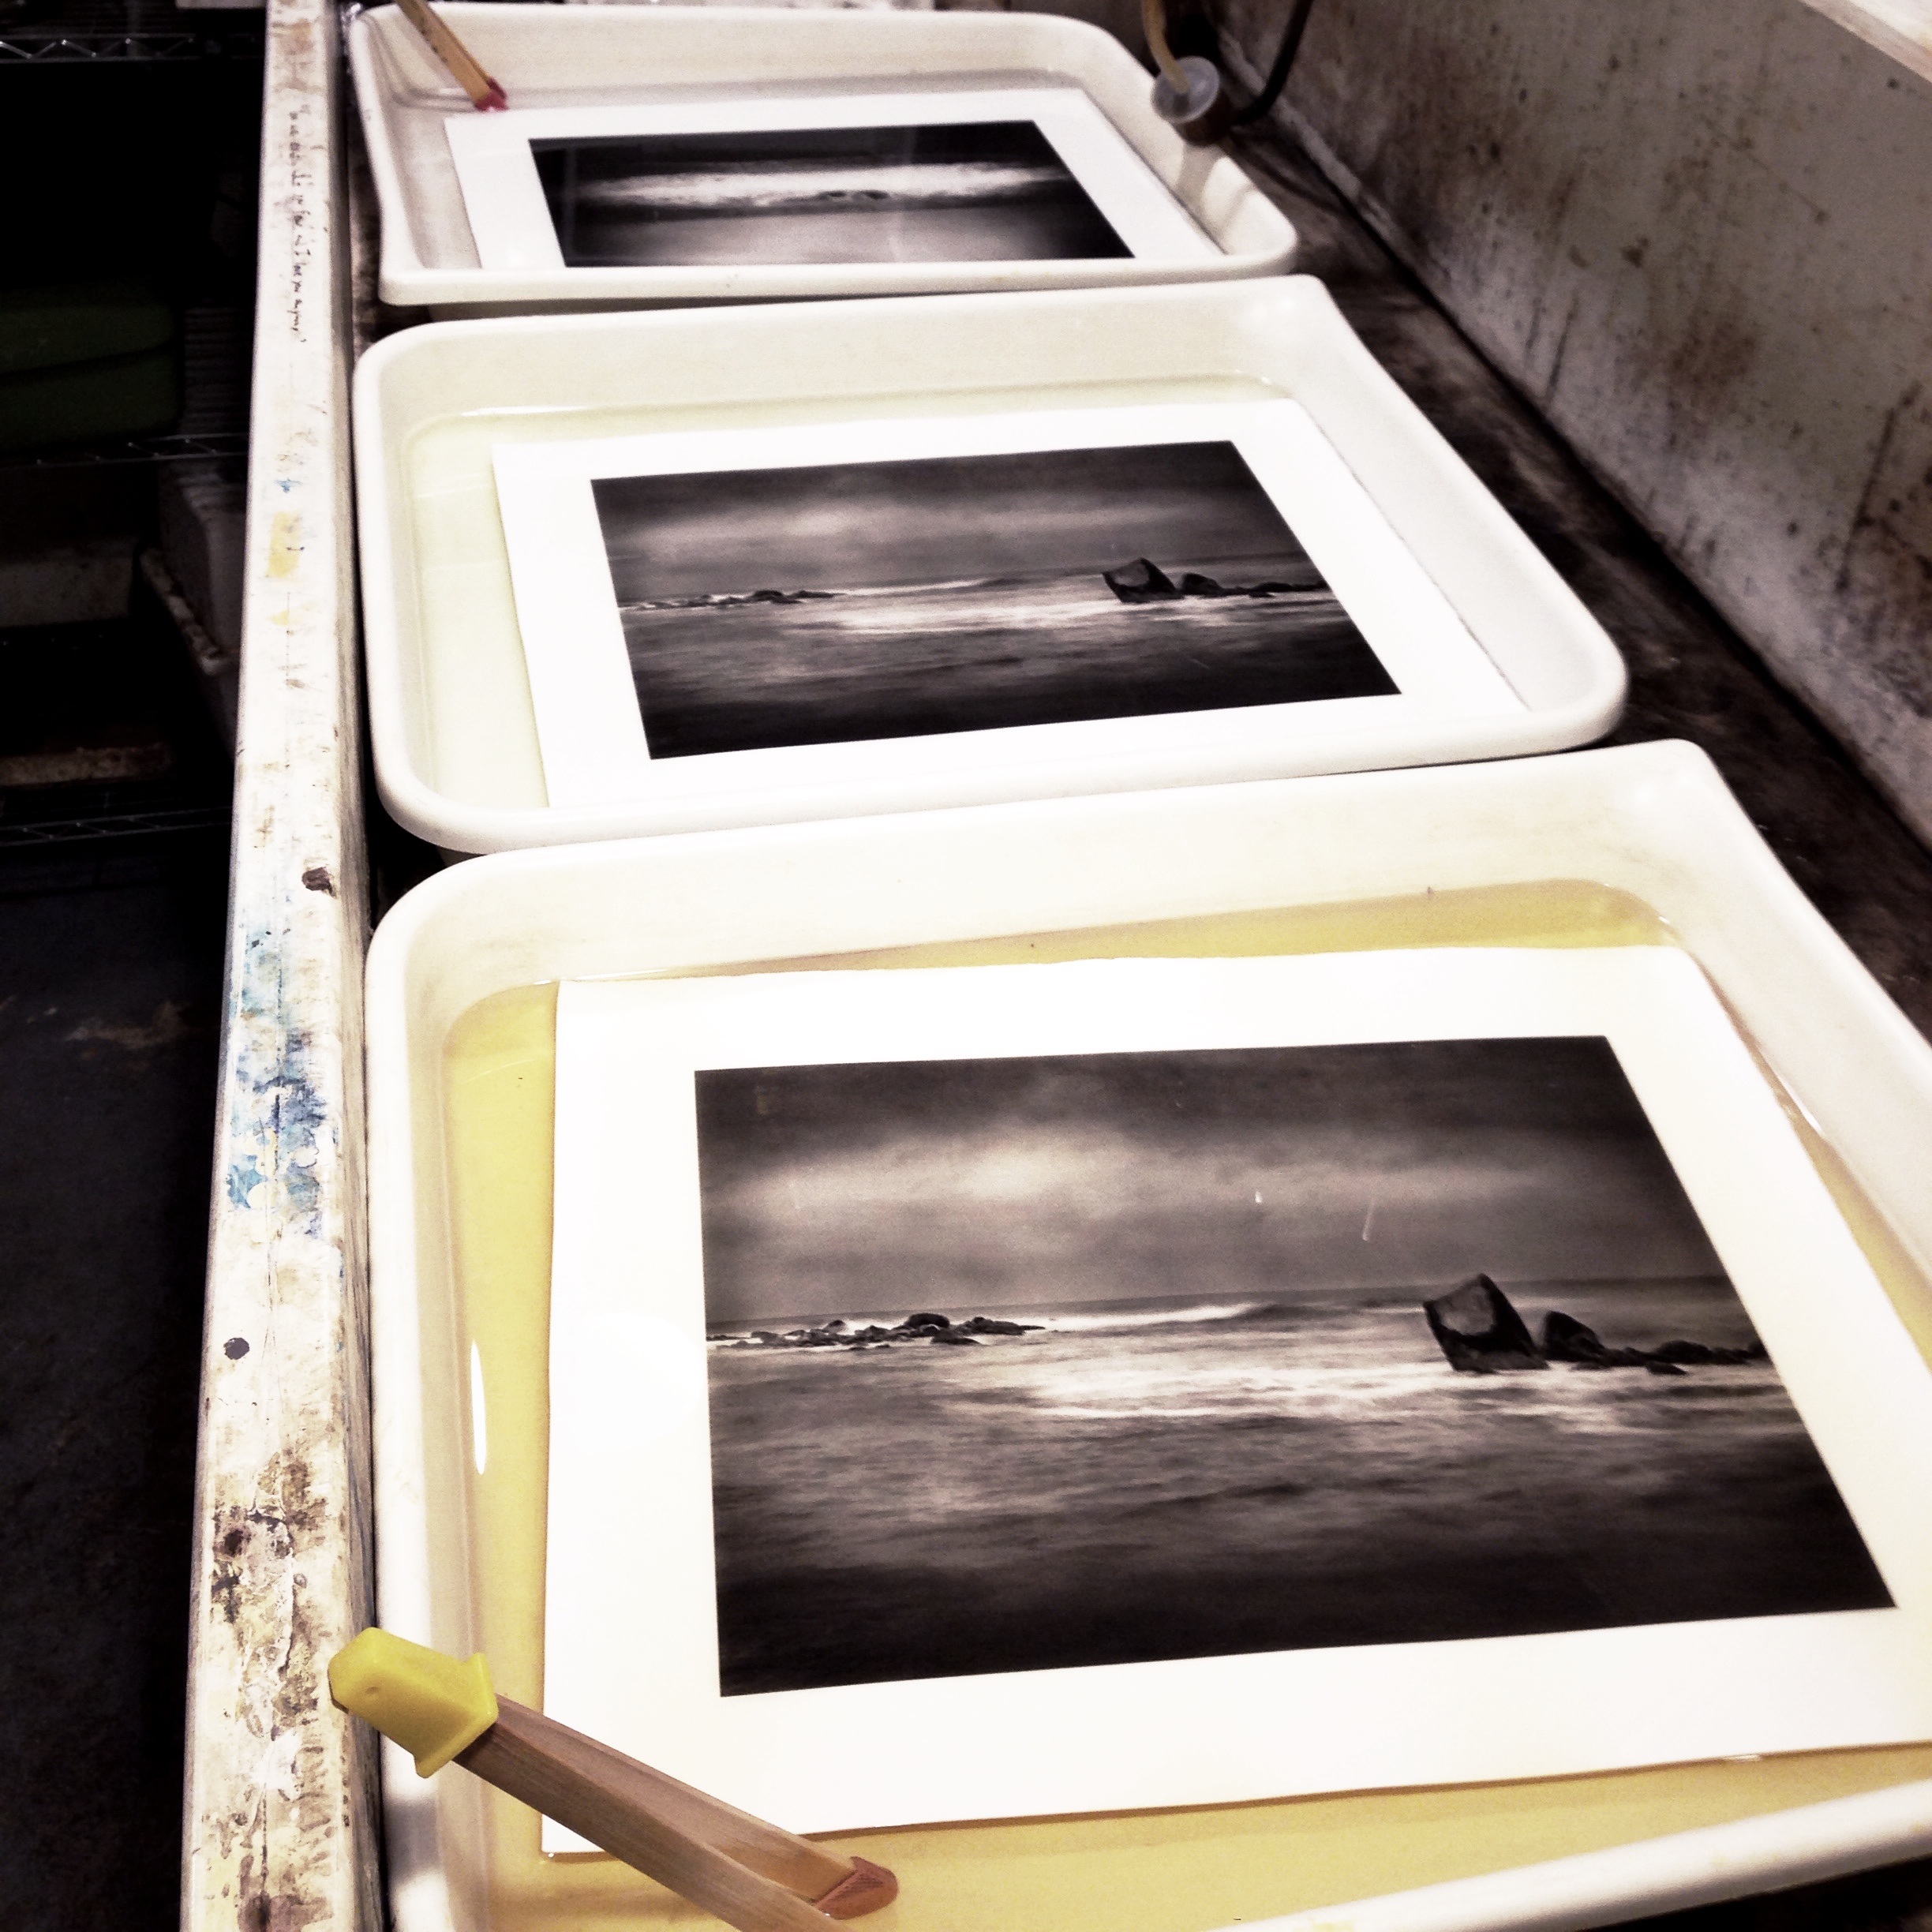
The purpose of using a clearing agent is to get the iron out of the print and leave the platinum/palladium. Think of it as fixer. There are a variety of clearing agents and formulas. I have used a dilute solution of Hydrochloric Acid but stopped after burning a hole through some plumbing pipes and having the skin on my fingertips kind of vanish.
Here is my current solution which seems to be the industry standard now.
2 Tablespoons EDTA
1 Tablespoon Sodium Sulfite
1 liter water
You make three trays of this clearing agent and as the first tray gets exhausted. You'll know as the color turns to rust brown. Simply dump that tray, move the second one down and refill the empty to place at the end of the line. Prints should stay in each clearing bath a minimum of ten minutes. You don't want to see any yellowish stain in your highlights since that is iron oxide (rust) and will stain your image and corrode it as well.
Rinse in running water for about 20 minutes. I hang my prints to dry to avoid contamination with screens.
Final Thoughts
As you may have already noticed, there are many ways to successfully make platinum/palladium prints. Believe me when I tell you it is the source of many mildly interesting conversation in hotel lobbies with other printers. The nuances of printing are many and we haven't even gotten into the papers you can use for this process. Currently, I'm using COT 320 with good results. That might change if the paper changes. The paper is going to change.
Platinum Printers of Note (Starting with the one's who answer my phone calls).
- Keith Taylor
- Sal Lopes
- Kerik Kouklis
- Lois Conner
- Beth Moon
- George Tice
- J. Keith Schreiber
- Dick Arentz
- Tom Millea
- Irving Penn
- Scott B. Davis
- Peter Henry Emerson
- Anne Brigman
- Laura Gilpin
- David Michael Kennedy
- Tillman Crane
Resources (where to buy what you need)
Not a very long list. Both of these businesses are the best and very helpful. Support them.
Exhibitions and Interesting Links
- All That Glitters Is Not Gold --- Phoenix Art Museum
- Truth And Beauty, Pictorialist Photography --- Museum Of Fine Arts, Boston
- The Collection at The MET
- Understanding Photographic Processes
- Photoeye Gallery Search By Process